
Tuesday, December 9, 2014

Sunday, October 13, 2013
Snowman Project
Good evening!
I've started working on my Christmas Party Invitations that I make by hand for my co-worker party. It's a fun get-together, and I like to make the invitations, because people keep them (everyone say, "Awwww!!!").
Anyway, I wanted to make either a pop-up card or a shaker card, but I don't think I'm going to make either one.
So, I started working on one part of my invitation, and that is a snowman. I think he is going to hold the actual invite, inside the card. Below are the steps I took to make him. He isn't the prettiest, at first, because my Cricut didn't like the paper I used at all. It really didn't want to cut that paper, and so I had to do a little bit of repair work along the way. My snowman ended up looking pretty cute at the end, if I do say so myself! The steps are below:
 This was the first cut I did, using the Cricut Cartridge Doodlecharms. Like I said above, my Cricut didn't like cutting that particular paper, so I had to work on the paper a bit. But it turns out ok!


I've started working on my Christmas Party Invitations that I make by hand for my co-worker party. It's a fun get-together, and I like to make the invitations, because people keep them (everyone say, "Awwww!!!").
Anyway, I wanted to make either a pop-up card or a shaker card, but I don't think I'm going to make either one.
So, I started working on one part of my invitation, and that is a snowman. I think he is going to hold the actual invite, inside the card. Below are the steps I took to make him. He isn't the prettiest, at first, because my Cricut didn't like the paper I used at all. It really didn't want to cut that paper, and so I had to do a little bit of repair work along the way. My snowman ended up looking pretty cute at the end, if I do say so myself! The steps are below:


Now, I don't have Copic markers. If you don't know what they are, I've included a link here. They are amazing markers, but for someone who hasn't graduated to that level in card making, I can't see how I could justify to my husband why I spent that kind of money on them. But, for the person who does use them for their cards or scrapbooking, I can certainly see why you do!! Anyway, a more frugal way to have a similar blending effect with color, but not spending near the money, is to use colored pencils with Mineral Spirits and a paper tool. this is what I did with my snowman. Those are the pencils I used.
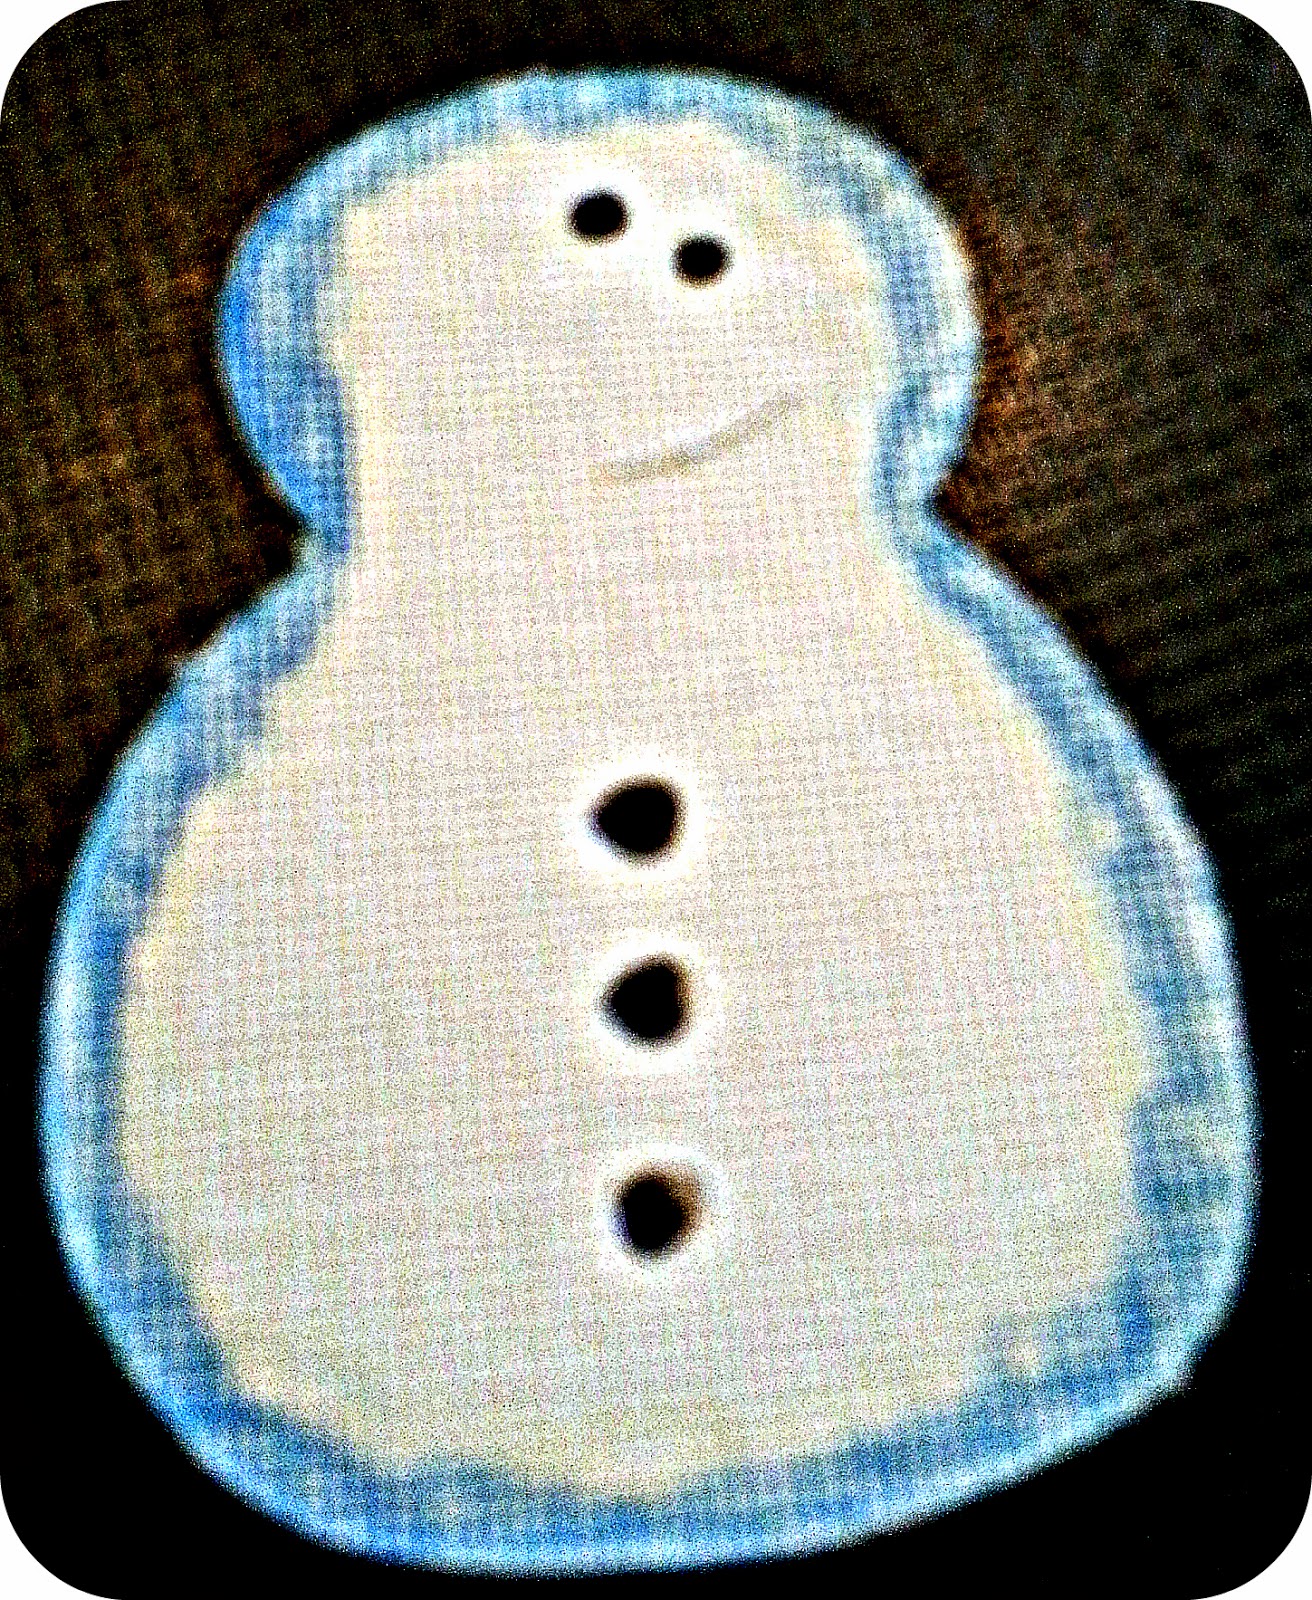
First I went around my snowman with my blue colored pencil....

Then, I went over the blue pencil with a white pencil. I was pretty aggressive with the pressure of the white pencil.

Ok, was I the only one on the planet who thought Mineral Spirits was like Mineral Water? Maybe so. So, needless to say, it took me a while to find out where to get this stuff since it wasn't next to the club soda in the grocery store. My sweet husband had to inform me it was at the hardware store. How deceiving! :-)

I just fill a small container half way with mineral spirits, and dip the paper blending tool in it. I work in a circular motion around the colored area until it begins to blend. I did this to try and give the effect of Mr. Snowman being cold. I do think it added a little something.

This guy looks a little weathered. This would be the snowman your Mom would scream at you not to eat! Ha, but again, like I said above, My Cricut was mighty grumpy with this paper and really didn't want anything to do with it. I also mentioned above that I'm frugal. And the only thing I needed this layer for was the arms of Mr. Snowman, so I figured it would be ok.

I used the Xyron Create a Sticker (love, love, love this beast!!), to turn the top layer of Mr. Snowman into a sticker so I could adhere it to the brown, second layer.

As you can see, all the blemishes from the brown layer have been covered, so it was worth keeping the layer the way it was, and not re-doing them. Phew!

On the Doodlecharms cartridge, the white layer of the snowman also makes the nose, but I didn't want Mr. Snowman to have a white nose, so I just grabbed some orange paper and cut out the little carrot myself - that's about the extent of my freehand artwork! I also grabbed some purple baker's twine for a scarf, to match his belly that you'll see in a second.

He's almost done!!! It even looks like the wind is blowing a little bit! Yeah, I really do think the blue helps set the pretend temperature! How fun is this?

I forgot to share that I used Micro sized Glue Dots to adhere the purple bling on Mr. Snowman. Glue Dots are the BOMB!!! :-)

And, finally....I had to pencil in a smile on Mr. Snowman's face! It was really fun trying to make him without plagiarizing someone else's work - which I do all the time, but I cite my sources, so it's not really plagiarizing.
Stay tuned to see the other things that will go into my Christmas work party invitations!! Nighty night!
Sunday, October 6, 2013
Halloween Project Instructions, For the Spatially Challenged......Like Me!!!
 | ||
This was the paper I chose for the box portion.
|

 |
| Here's a picture of the box on the screen. See the little marks on the papers - they look like little slits? Those are important for later.....but no one tells you that. Grr.... |
 |
| So, here's what the paper looks like after the Cricut does its magic. |
 |
| Here's what the paper looks like after I took the excess scraps off the mat. |
 |
| I grabbed my Martha Stewart Score Board in order to make all the folds on the paper I thought I needed to, since there are NO GOOD DIRECTIONS for the spatially challenged. It turns out all of those slits on the screen in the Cricut Craftroom are little cuts on the paper that is showing you where to fold the paper. So, that's what I did. |
 |
| Here's what they looked like when everything was folded. I took it upon myself to put glue on all the little folded parts. But again, let me add that there weren't any directions, so I'm certain I did it all really wrong. |
 |
| Here's my lovely ATG that I used to adhere the little folds. |
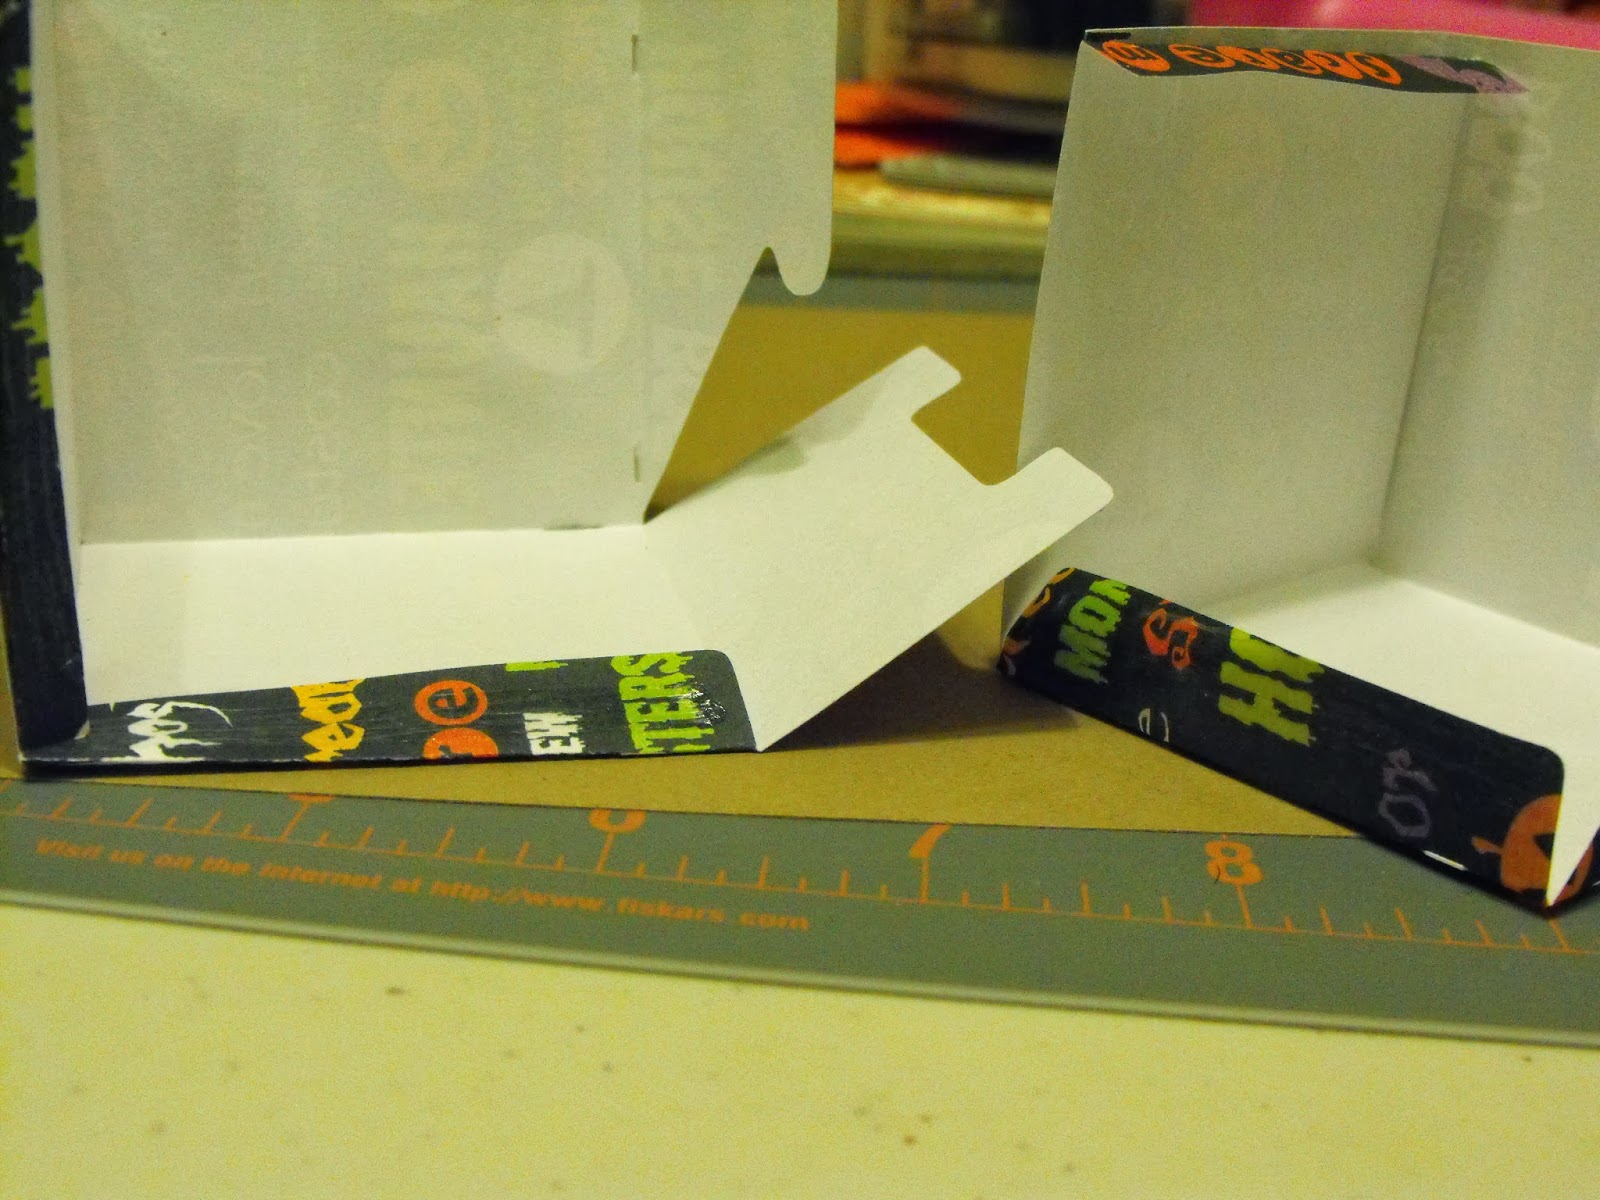 |
| I wanted to show you what the box looked like semi-adhered. I was pretty scared it wasn't going to look like a box because at this point, it shouldn't end up looking like a box. :-/ |
 |
| Here's the box with the final part to adhere. What do you think is going to happen? |
 |
| I used Zig glue to adhere the Raven Box Top. It's a great glue. |
 |
| (Drum roll.........) Ta Da!!!! Here is the finished product!!! :-) I won't tell you how long it took me to complete this simple little project.....But it was worth it! |
Thursday, September 26, 2013
A Card For The Military
I know my cards aren't the prettiest things, but I know a bunch of folks who certainly appreciate them! I have made quite a few cards for Operation Write Home. this is an organization that sends hand made cards to the Soldiers, Sailors, and Marines who are overseas protecting our freedom. I know the sacrifice they make to do this, and it seems so insignificant and small to just make cards, but it is appreciated by the troops.
Please take the time to go to Operation Write Home to see how easy it is to support our military while they are away.
Here are some of the cards I've made for OWH:


Please take the time to go to Operation Write Home to see how easy it is to support our military while they are away.
Here are some of the cards I've made for OWH:


Tuesday, September 24, 2013
More Organizing of Projects
Well hi there.
I'm going through my computer and organizing all my craft pictures. I have found a couple more. There are a some projects below that I will explain:


I'm going through my computer and organizing all my craft pictures. I have found a couple more. There are a some projects below that I will explain:

This was a Thank You card for the letters of sympathy my husband and I received when my father in-law passed away last year. I hand made every thank you card. I shrunk the first page of sheet music of How Great Thou Art and put it on a medium weight cardstock. I then hand tore all the edges and glued the page on an A4 size card. I hand wrote a personalized thank you on each card and sent them out. This was one of my first projects I had ever attempted. After I completed it, my good friend who introduced me to crafting said, "Oh no....you should not do the hand made cards in bulk. But, next time you'll know." Oh yeah, I learned the hard way. it's very hard to complete a timely task by having to quickly make handmade cards in bulk. Lesson learned!!!

I think this was a card I made for my boss for her birthday. I cut out a Critter to depict each of her managers, and those are what is inside of her 'Exploding Box'. All of that was created with the Cuttlebug and Criciut's Create a Critter cartridge.

Sunday, September 22, 2013
My Anniversary Gift From My Husband
 I have the Cricut Expression I bought from a friend about a year and a half ago, but the screen started going out. Wayne got me the Expression 2 for our anniversary. He's the BEST!!
Getting Ready For The Holidays!!
Good evening!
I wanted to share with you a little project I'm working on for the holiday season. This is a little gift for my staff as a little token of my appreciation for all the hard work they do during the year. Below you'll be able to see each step I went through to make these little guys. I made about 100 in six hours. I'm pretty slow, but they do look good! :-) Hope you think they are as cute as I do!
Step 1: Cut out Stocking from Cricut Doodlecharms Cartridge
Step 2: Start gluing away!!

Almost done!!! Just a couple things left to do!
I wanted to share with you a little project I'm working on for the holiday season. This is a little gift for my staff as a little token of my appreciation for all the hard work they do during the year. Below you'll be able to see each step I went through to make these little guys. I made about 100 in six hours. I'm pretty slow, but they do look good! :-) Hope you think they are as cute as I do!
 |
 |

 |
 |
| I added some clear glitter around the toe of the stockings, and then blue Gelly Roll pen around the heel and top of the blue stocking and red Gelly roll pen around the heel and top of the red stocking. |
 |
| I added the names with a Extra Fine Tip Sharpie Pen, and the names dried immediately. All done! I hope you enjoy!!! |
Subscribe to:
Posts (Atom)