Well, I sure had fun with this little project this evening (Sunday, October 6th). I wish I could say that I couldn't believe the instructions on the Cricut website for the Raven Halloween box. Basically, it says to cut it then fold it, then put it together. Ok, well, for someone like me, it's surprising the thing didn't turn out to be a crumpled up piece of paper, stained with tears in my garbage can. But, I wanted to prove to myself I could do this thing, and pass along my wisdom to others. Ha!! Well, let's take a look at what happened, shall we?
 |
This was the paper I chose for the box portion.
 |
| The orange is the color I chose for the lid. As you can see, I made sure the box paper was upside down for it to be cut correctly for my box. It's all set up on the Cricut mat, and I hooked my Expression 2 up to my laptop so I could use the Cricut Craft Room. |
|
 |
| Here's a picture of the box on the screen. See the little marks on the papers - they look like little slits? Those are important for later.....but no one tells you that. Grr.... |
 |
| So, here's what the paper looks like after the Cricut does its magic. |
 |
| Here's what the paper looks like after I took the excess scraps off the mat. |
 |
| I grabbed my Martha Stewart Score Board in order to make all the folds on the paper I thought I needed to, since there are NO GOOD DIRECTIONS for the spatially challenged. It turns out all of those slits on the screen in the Cricut Craftroom are little cuts on the paper that is showing you where to fold the paper. So, that's what I did. |
 |
| Here's what they looked like when everything was folded. I took it upon myself to put glue on all the little folded parts. But again, let me add that there weren't any directions, so I'm certain I did it all really wrong. |
 |
| Here's my lovely ATG that I used to adhere the little folds. |
 |
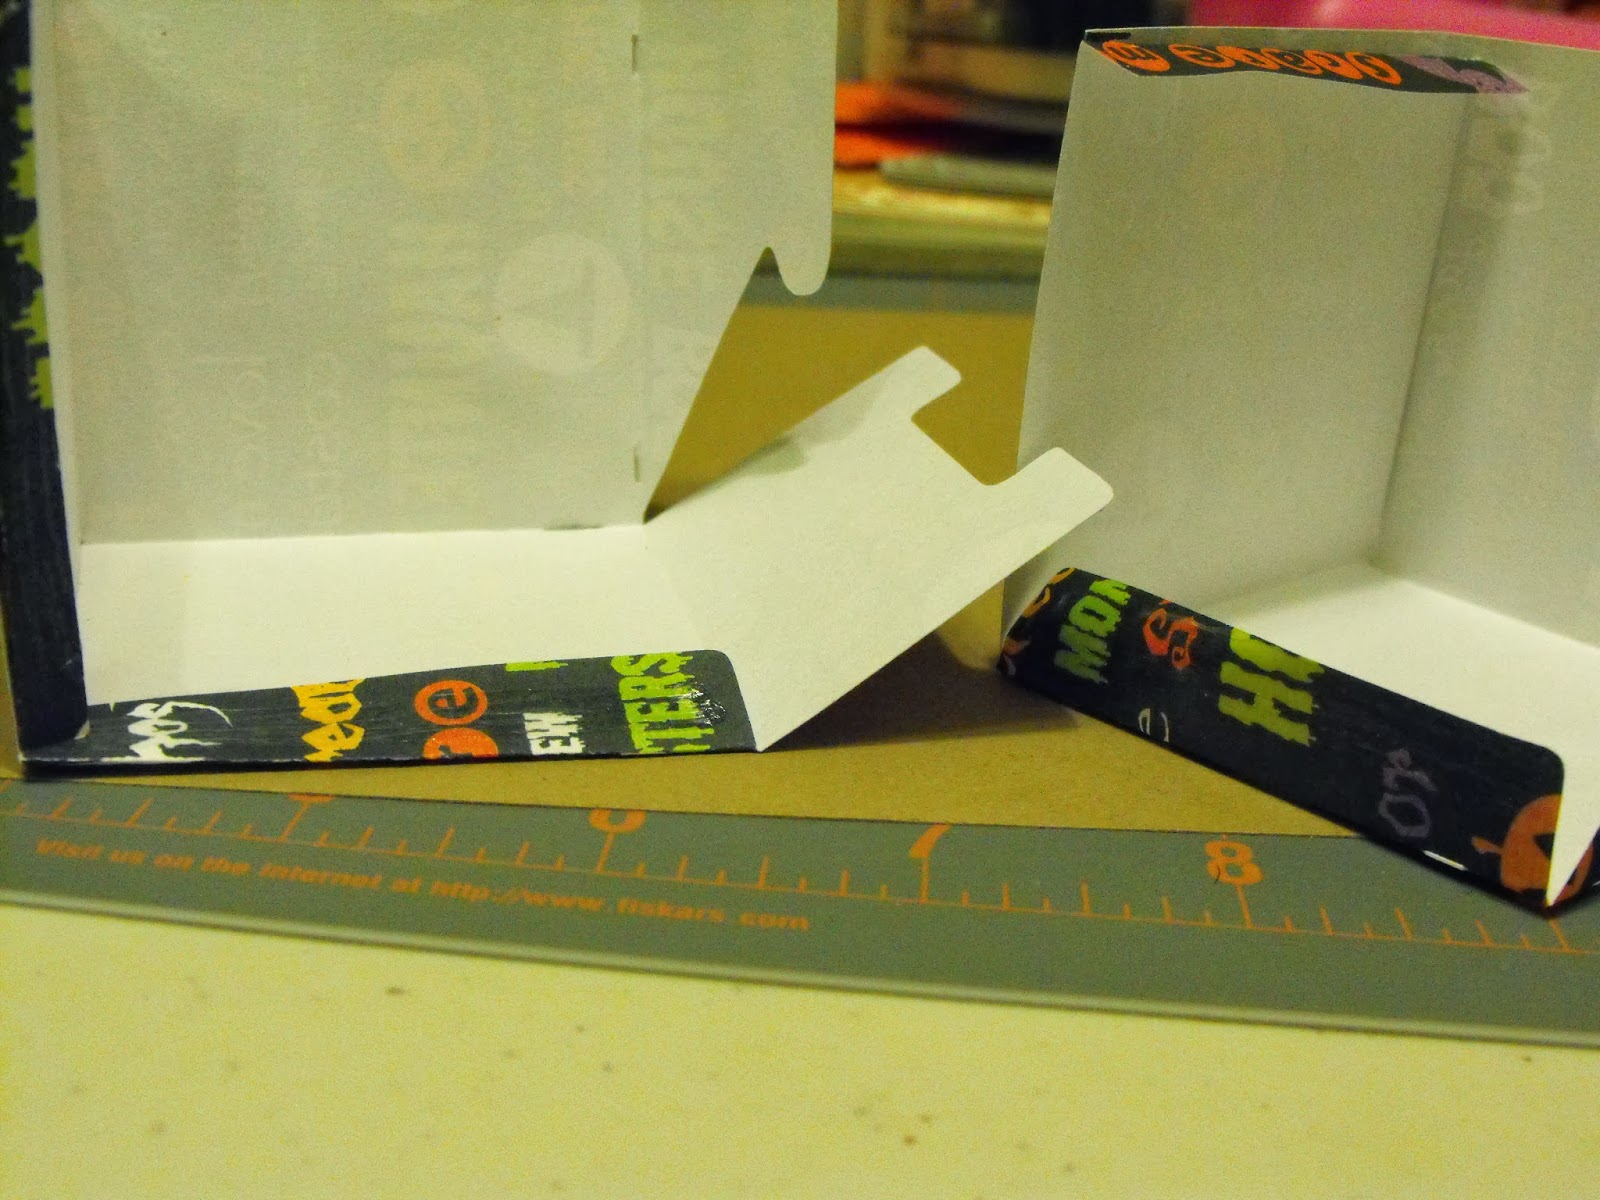
| I wanted to show you what the box looked like semi-adhered. I was pretty scared it wasn't going to look like a box because at this point, it shouldn't end up looking like a box. :-/ |
 |
| Here's the box with the final part to adhere. What do you think is going to happen? |
 |
| I used Zig glue to adhere the Raven Box Top. It's a great glue. |
 |
(Drum roll.........) Ta Da!!!! Here is the finished product!!! :-)
I won't tell you how long it took me to complete this simple little project.....But it was worth it! |


No comments:
Post a Comment